To get started, draw your design on paper, and stick it to your sheet metal (I'm using a scrap of brass) with rubber cement. Remember to let it dry completely so that the paper doesn't start sliding around.

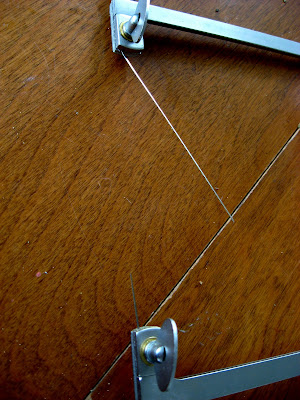
This is the saw. Note that the blade is about the width of a strand of dental floss. The teeth only work in one direction, so when you put the blade on your frame you want to make sure that the teeth are pointing towards the handle.

Starting from the outside edge, begin sawing in towards your design, keeping the blade perpendicular to the metal. Once you get to your outline, you're basically tracing your drawing with the blade. Remember that the saw only cuts when you're pulling down. The trick to smooth curves and tight corners is to keep the saw moving constantly.
If you're trying to cut out the inside of a design while leaving the outside in tact, you can use a drill to make a hole in the middle of your design, then thread the saw blade through and attach to the frame.

You will go through some blades. It can be startling when they break, but it's normal. The more practice you have, the fewer blades you'll break. Again, keeping the blade in motion and at a 90 degree angle to your work will help immensely.

Once the design is all cut out you can sand/buff/shape/patina/basically do whatever you want with it. Hurrah!
Nice piece and great tutorial!
ReplyDeletebrass sheets