Saturday, July 16, 2011

Because my mother wonders when I'll update my blog...

Today I bring you everyone's least favorite tool, the jeweler's saw! I'm actually a huge fan of it, but I tend to have more patience for meticulous tasks than most normal people do. It's great because it's simple and inexpensive, and you can make incredibly intricate designs with it. Today I'll be making a Wu-Tang headbadge for my friend's bike (see my previous post involving my bike for an example of another homemade headbadge). It's a quick and easy project, but you can get as elaborate as your patience allows.


To get started, draw your design on paper, and stick it to your sheet metal (I'm using a scrap of brass) with rubber cement. Remember to let it dry completely so that the paper doesn't start sliding around.


This is the saw. Note that the blade is about the width of a strand of dental floss. The teeth only work in one direction, so when you put the blade on your frame you want to make sure that the teeth are pointing towards the handle.


Starting from the outside edge, begin sawing in towards your design, keeping the blade perpendicular to the metal. Once you get to your outline, you're basically tracing your drawing with the blade. Remember that the saw only cuts when you're pulling down. The trick to smooth curves and tight corners is to keep the saw moving constantly.

If you're trying to cut out the inside of a design while leaving the outside in tact, you can use a drill to make a hole in the middle of your design, then thread the saw blade through and attach to the frame.


You will go through some blades. It can be startling when they break, but it's normal. The more practice you have, the fewer blades you'll break. Again, keeping the blade in motion and at a 90 degree angle to your work will help immensely.


Once the design is all cut out you can sand/buff/shape/patina/basically do whatever you want with it. Hurrah!

Thursday, April 28, 2011

A quick one.

In the interest of actually updating from time to time, I bring you... THE BAMBOO SCAFFOLDING FIASCO!

So I have this vine, which is a very lovely passion flower vine, which is NOT supposed to be an indoor vine, due to its ridiculous rate of growth during the summer. Last year it grew about 12 feet in two months, and I kept having to tie strings to various parts of my ceiling to allow its continued growth. As my ceiling is very high and I don't have a ladder or enjoy heights, I decided that before we get too far into this year's growing season I'd build it something more low-maintenance to grow on. Something made of cheap and easy-to-locate materials. Something like... a grid made of string and bamboo.

Now, on to photos before this gets any more lack-luster:


The vine, looking a bit wistful. Yes, wistful.


Very basic materials. You get no process shots. This is good enough for the likes of you.


And it's done, as if by cooking show magic!


Wednesday, January 12, 2011

More Sketchbook Project, plus new tattoo


My new tattoo, a cover up (in progress). By Greg Hastain.

And now more from my sketchbook (three days remain...)


Wednesday, January 5, 2011

Sketchbook Project


The Mournful Cry Of Joose


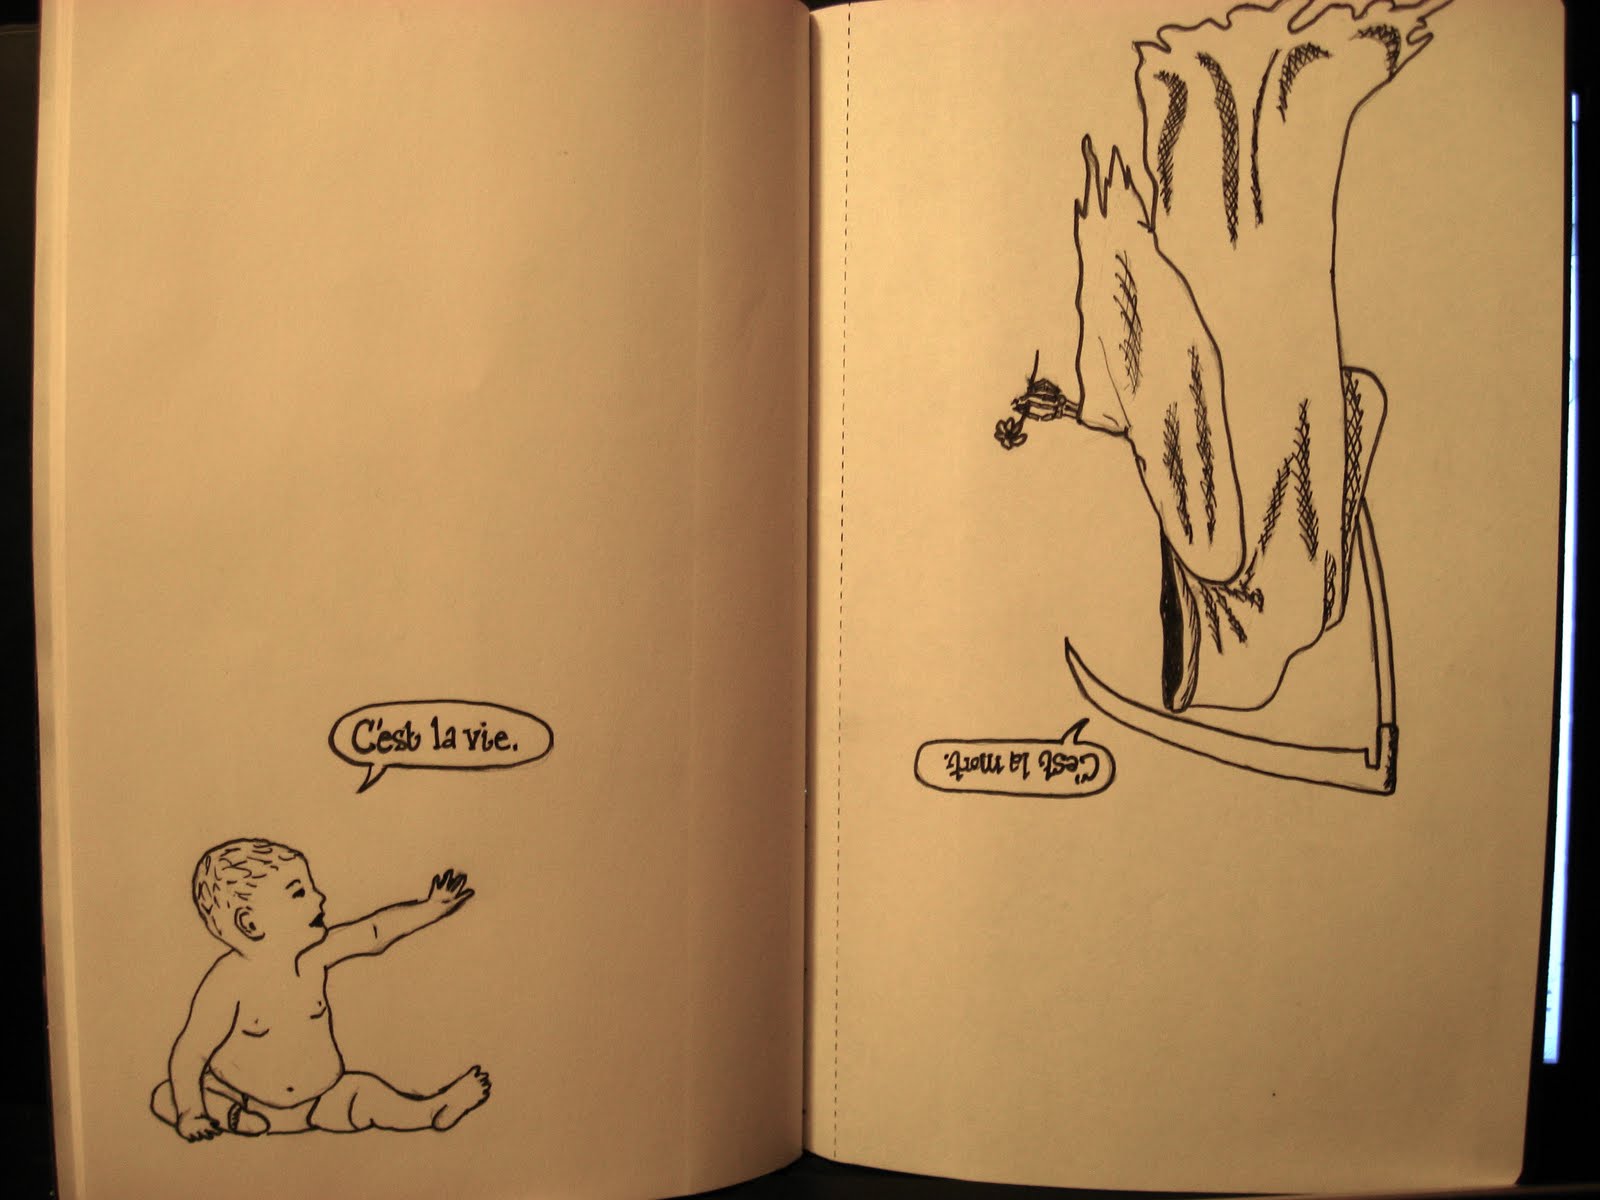
So I've been working on my submission for The Sketchbook Project. Of course, I am slow, and have ten days left, so it's going to be a bit of a struggle to get it mailed in time. A lot of it is going to be pretty embarrassing to submit, but I figure the odds of anyone actually paying much attention to it in a mass of other books are pretty low. These are some of the pages I'm more into.


Centaursaurus Rex


Now What Have I Done With Tinkerbell?

Friday, December 10, 2010

Modified

Two new things, made better:


1) Fantastic new bike. It came with awful stickers all over, because designing great bikes has fuckall to do with decent branding.


After removing the stickers (by way of hairdryer and library card) I replaced the front emblem with a copper elephant, which I made some time ago.


2) I was given a dollar store planner after complaining that my life was too complicated. As you can see, it's ugly and the first few months have already passed.


My solution was to remove the cover and rebind it.


Choosing end papers is always my favorite part of binding. I ended us using a map for this one.


I also used a file folder for the cover, and left one tab on, for reasons of whimsy.

Escalation

I have finally taken some pictures for those of you who were left hanging by my previous post regarding a workplace cartoon feud. I think the war is over now, as Brenna and I have moved on to more ridiculous projects, but these remain hilarious.


Bear trap by B. Zedan.

TNT by me.

Thursday, November 25, 2010

The VelociRapture: a work in progress


The four horseraptors of the apocalypse.

This is just the beginning phase of what I hope will be a miniature installation (if I can find an appropriate nook in which to install it). It's based on a very inspiring pun I came up with a few months back. I was going to draw it, but then I figured, "Shit, why not build it?" I am primarily a sculptor, after all.


Of course this sort of thing can quickly digress into Raptor Circus.